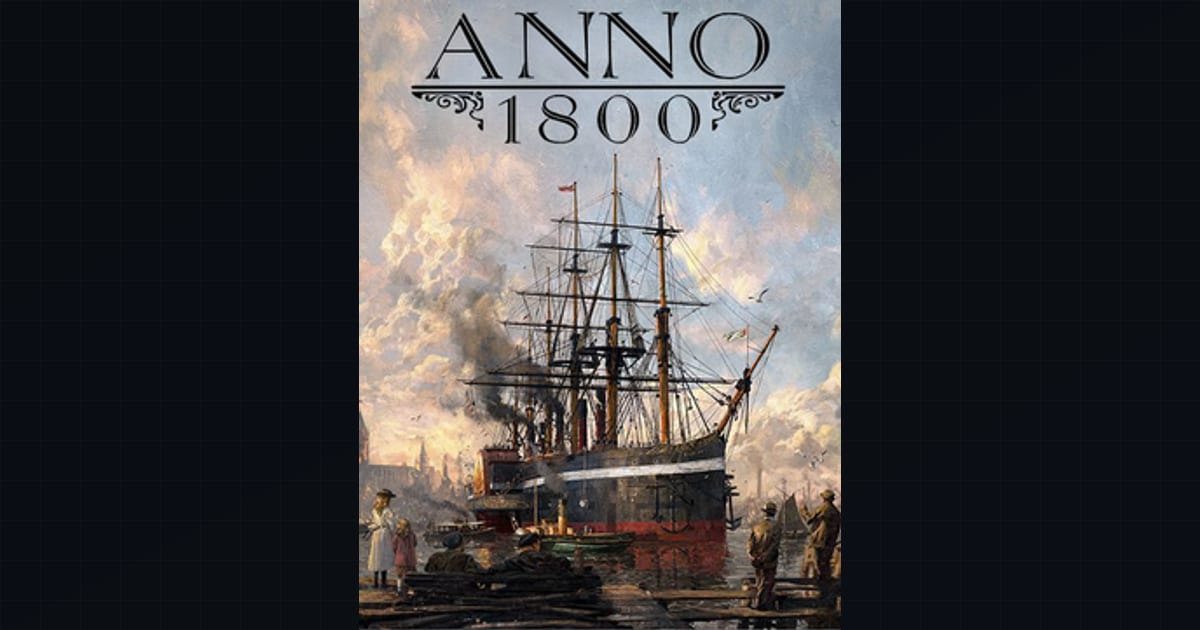
Reaching Investor-tier population in Anno 1800 is less about building fast and more about building correctly. The late game is a logistics problem: dozens of production chains compete for the same finite workforce, finite island fertility, and finite shipping capacity, and a single mis-ratio in the back of your empire quietly throttles income hours later. This guide covers a stable layout strategy — how to tier up your population, allocate workforce, stack trade unions, and route goods between the Old World and New World without bottlenecking.
What it covers: Investor-tier logistics — workforce allocation, trade-union stacking, and Old/New World routing. Why it matters: One mis-ratio quietly throttles income hours later, and over-promoting starves factories of lower-tier labor. Who should pick this: Anno 1800 players pushing late-game investor economies.
Population Tiers & Workforce Economics
Anno 1800’s Old World has five population tiers: Farmers, Workers, Artisans, Engineers, and Investors. The New World runs Jornaleros and Obras (and Investors if you own the New World Rising DLC). Each tier supplies workforce to production buildings — and Investors supply almost none. The single most common late-game failure is over-promoting your workforce into Investors and starving your factories of the lower-tier labor they still need.
The workforce trap
Every production building consumes a fixed workforce slice per module. A Canned Food factory needs Artisans. A Brass factory needs Engineers. A Rum distillery needs Jornaleros in the New World. When you promote Farmers into Workers, or Workers into Artisans, you gain higher-tier income and unlock new needs — but you lose the lower-tier workforce those houses were providing unless you’ve over-built the tier below.
The stable approach is to always maintain a workforce surplus of roughly 15–20% at each tier below your current target. If you’re pushing toward 10,000 Investors, you should already have a comfortable buffer of Farmers, Workers, Artisans, and Engineers — not because they generate income, but because they staff the chains that keep Investors happy.
The Investor Demand Stack
Investors have two categories of needs: basic needs (required to fill houses) and luxury needs (required to maximize income per house). The full late-game Investor stack, across base game and DLC, includes:
| Good | Chain Tier | Region | DLC |
|---|---|---|---|
| Windows | Artisan | Old World | Base |
| Canned Food | Artisan | Old World | Base |
| Light Bulbs | Engineer | Old World | Base |
| Sewing Machines | Artisan | Old World | Base |
| Pocket Watches | Engineer | Old World | Base |
| Fur Coats | Artisan | Old World + New World | Base |
| Rum | New World | New World | Base |
| Coffee | New World | New World | Base |
| Jewelry | Engineer | Old World + New World | Base |
| Gramophones | Engineer | Old World | Base |
| Steam Carriages | Investor | Old World | Base |
| Champagne | Investor | Old World | Base |
| Chocolate | New World | New World | DLC |
| Cigars | New World | New World | DLC |
| Champagne/Clock (variants) | — | — | various |
The principle: build the basic needs chains first, fully, before chasing luxury needs. A half-filled Investor house with all basic needs pays more than a full house missing Canned Food and Light Bulbs.
Core Production Chains: Old World
Iron and Steel backbone
Iron is the single most over-subscribed resource in the late game. It feeds Canned Food (tin + goulash), Sewing Machines, Pocket Watches, Steam Carriages, and weapons. Build two to three Iron Mine clusters on separate islands early — don’t rely on one high-yield node, because a Trade Union slot on a mine is worth more than a second mine on a crowded island.
A reasonable backbone ratio for a mid-size Investor city (module counts vary with your active modifiers):
- 3–4 Iron Mines → 3 Iron Smelters → feeds Canned Food + Sewing Machine chains with surplus
- 1 Tin Mine → 1 Tin Smelter for Canned Food
- 1 Copper Mine → 1 Copper Smelter → Copper Wire for Light Bulbs + Gramophones
Glass chain
Glass feeds Windows and Light Bulbs — both Investor basic needs. A Glassworks needs Sand and Coal. Build Glassworks near Coal seams and import Sand from a second island; Sand quarries are cheap and fit on low-fertility filler islands.
Brass and advanced goods
Brass (Copper + Zinc) feeds Gramophones and Steam Carriages. Zinc is often the bottleneck — Zinc Mines are rarer than Copper. Scout for Zinc early and claim the island before the AI does.
New World Colonial Supply
The New World supplies the goods the Old World cannot grow: Rum (Sugar Cane), Coffee, Cotton (for Fur Coats), Tobacco, Caoutchouc (rubber), Pearls (for Jewelry), and Gold (for Jewelry + Pocket Watches). The New World is not optional — it is structural to the Investor economy.
Island specialization
Resist the urge to put everything on one New World island. Fertility is distributed across multiple islands, and concentrating production on one island burns Trade Union slots that could be stacking production modifiers. A cleaner layout:
- Island A (Sugar Cane + Cotton): Rum distilleries, Cotton→Fur Coat feedstock
- Island B (Coffee + Cocoa): Coffee roasters, Chocolate factories
- Island C (Pearl + Gold): Pearl diving, Gold mining — feeds Jewelry shipped back to Old World
Each island gets its own Trade Union focused on the chain it hosts.
Trade Unions & Item Optimization
Trade Unions are the single largest production multiplier in the game and the most underused by players who rush to Investors without planning. A Trade Union affects all production buildings of compatible types within its radius, and the right specialist items can substitute inputs, boost output by 30–50%, reduce workforce, or eliminate a raw material entirely.
Stacking strategy
Place Trade Unions to cover as many of the same building type as possible. A Trade Union covering 4 Iron Smelters with a +30% output specialist effectively gives you a 5th smelter for free. The layout implication: cluster identical buildings rather than spreading them in neat rows.
High-value specialist effects to prioritize (exact values vary by patch):
- Mr. Garrick / similar smith specialists: boosts Iron Smelters, sometimes substitutes Coal
- Bruno von Bright: boosts Glassworks, can reduce Sand input
- Feras Tensim: universal cotton/textile specialist
- Trade Union items that remove a workforce tier requirement — these are worth the most, because they directly relieve the workforce trap
Town Hall stacking
Don’t ignore Town Halls on residential islands. Population-affecting items can reduce luxury need consumption or substitute one good for another, which lowers the throughput your supply chains must sustain. A 10% reduction in Coffee consumption across 10,000 Investors is several ships of Coffee per hour you no longer need.
Shipping Routes & Fleet Management
Route design rules
- One good per route, one direction. Multi-good routes complicate load balancing and fail silently when one good fills the cargo hold.
- Set minimum load / minimum unload thresholds in the route menu. This prevents a ship from departing with a half-empty hold and prevents a destination from being drained to zero.
- Match ship capacity to route throughput. A Clipper (~140 cargo) is fine for Rum from one island; a Cargo Ship (~280 cargo) is needed for Coffee from two islands feeding a large Investor population.
Fleet composition
Late game, the Cargo Ship is the workhorse. Clippers remain useful for low-volume specialist routes. Airships (from The Passage DLC) are niche — useful for long-distance or ice-region runs but carry less cargo than a Cargo Ship, which makes them less suited to standard Old World–New World bulk trade.
Avoid running routes with fewer than two ships unless throughput is genuinely tiny. A single ship creates a delay spike every time it loads or unloads — two ships stagger the cycle and keep the destination buffer stable.
Workforce Allocation Math
The reliable way to avoid bottlenecks is to build from the bottom up, to a surplus, before promoting:
- Build enough Farmer housing to staff your Farm/Cattle/Grain chains + a 20% buffer.
- Promote into Workers only after confirming your Alcohol/Soap/Sewing chains are staffed.
- Promote into Artisans only after Windows, Canned Food, and Sewing Machine chains are fully staffed with buffer.
- Promote into Engineers only after Light Bulbs, Pocket Watches, and Jewelry chains are staffed.
- Promote into Investors last, in small batches, checking the demand screen after each batch.
The in-game production/demand bar (the colored consumption bars on each good) is your primary diagnostic. If a bar turns red on a good you produce locally, you have a production shortfall. If it turns red on a good you import, you have a shipping shortfall. Diagnose before expanding — expanding the wrong chain wastes workforce and money.
Common Bottlenecks & Solutions
| Symptom | Likely cause | Fix |
|---|---|---|
| Investors not filling despite all goods present | Workforce shortage lower in the stack | Build more lower-tier housing |
| Coffee bar red, ships arriving full | Consumption > route throughput | Add a ship or a second route |
| Iron always short | Too many chains competing for one mine cluster | Build a second island mine + Trade Union |
| New World goods pile up at port | Ships not loading (wrong load threshold) | Set minimum load to 10–20% |
| Income flat despite more Investors | Luxury needs unmet | Check Jewelry, Champagne, Gramophones |
| Single chain stops randomly | Trade Union item removed an input, mismatched chain | Re-check item effects vs. chain inputs |
Closing principle
The stable Investor economy is not the one that builds the most — it’s the one where every chain has the workforce it needs, every route has the ships it needs, and every Trade Union is doing compounding work. Build surplus before promoting, specialize islands before stacking unions, and route goods one-per-ship. The income follows.
Sources & further reading
- Anno 1800 — Official Ubisoft site
- Anno 1800 Wiki — Production chains
- Anno 1800 Wiki — Population needs
- Anno 1800 Wiki — Trade Union
- Anno 1800 Wiki — Items
- Anno 1800 — Steam store page
Next read
- For the next game in the series, see Anno 117: Pax Romana.
- For the same supply-chain thinking in a modern city, see Cities: Skylines 2: Industry and Tax Revenue.
- For the macro version of the same loop, see Victoria 3: Construction Sectors and GDP.