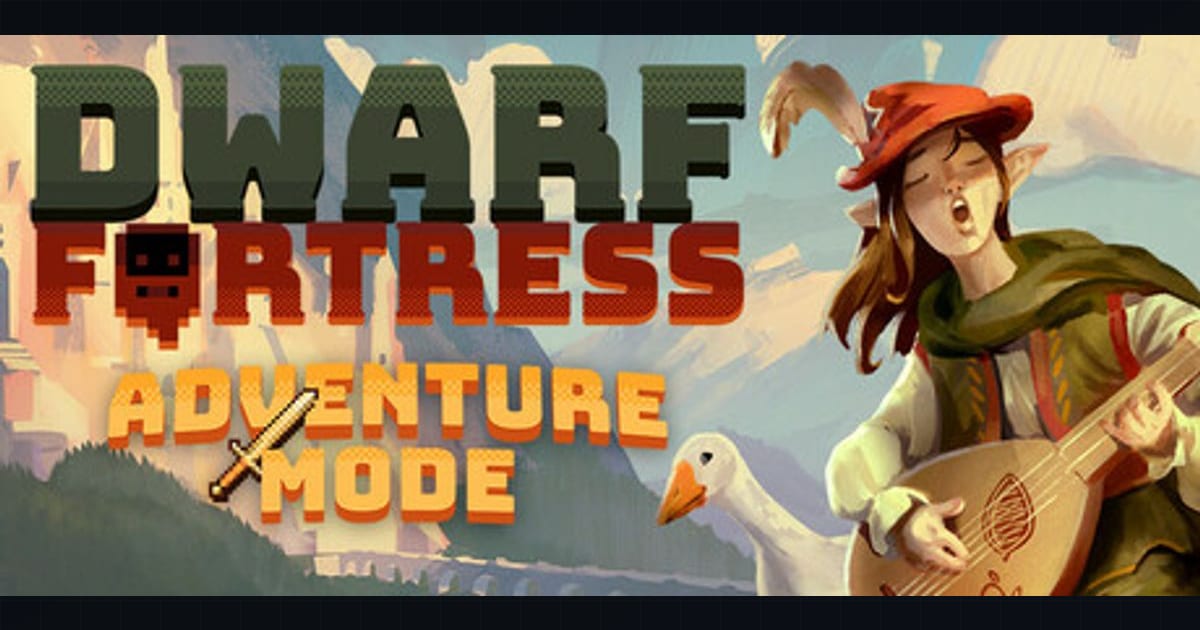
Dwarf Fortress arrived on Steam in December 2022 after two decades of free development by Tarn and Zach Adams, and the premium build finally shipped with graphics, mouse support, an integrated tutorial, and a clickable UI that replaced the original ASCII-and-keyboard interface. The simulation underneath is unchanged in spirit — a procedurally generated world of dwarves with individual memories, needs, and grudges — but the on-ramp is shorter. This primer covers what the Steam release actually changes, a first-year checklist you can follow step by step, and the five failure modes that kill the majority of new fortresses before the second spring.
What it covers: What the Steam release changes, a first-year checklist, and the five failure modes that kill new fortresses. Why it matters: The barrier to entry dropped but the simulation did not — most fortresses die before spring two. Who should pick this: New players arriving through the Steam UI.
What the Steam release changes
The original Dwarf Fortress was famous for its barrier to entry: a keyboard-only interface layered over ASCII glyphs, with dozens of menus accessed by single-letter hotkeys. The Steam version, published by Kitfox Games and built with help from artists and UI engineers, keeps the simulation logic but replaces the front end almost entirely.
UI and controls
- Mouse-first interaction. Nearly every action — designating mining, placing stockpiles, building workshops, assigning labors — is clickable. The keyboard shortcuts remain and are worth learning, but they are no longer mandatory.
- Tileset graphics. Dwarves, creatures, terrain, and items use a consistent illustrated tileset rather than ASCII. Fluids (water, magma) and status effects are animated.
- Contextual tooltips. Hovering over a dwarf, item, or building surfaces a panel with relevant stats, labor assignments, and status. The original required opening multiple nested menus for the same information.
- Labor system overhaul. The Steam release replaced the old single-dwarf labor toggles with a work-details panel where you set broad work categories (Mining, Farming, Metalcrafting, etc.) and let the game assign idle dwarves automatically. You can still pin specific dwarves to a detail if you want fine control.
- An integrated tutorial. The Steam build walks you through embarking, mining a basic room, stockpiling, and brewing. It is optional and limited, but it covers the first 15 minutes that previously required a wiki.
None of this makes the simulation easier. It makes the controls legible. The deeper systems — fluid pressure, stress cascades, military scheduling, pathfinding through cavern layers — are still there and still require reading or experience.
Starting an embark
Before you dig, you pick a site. The pre-embark map shows biomes, elevation, neighboring civilizations, and shallow/deep metal indicators. For a first fortress, pick a site with these traits:
- Temperate or calm surroundings. Avoid “Sinister” or “Evil” surroundings; they spawn undead wildlife that ends early forts.
- Shallow metals and flux stone. Flux (chalk, limestone, dolomite) enables steel later. Shallow metals give you an early weapons industry.
- A river or brook, not an aquifer-heavy area. Fresh water is needed for farming and drinking. Light aquifers are manageable with basic engineering; heavy aquifers flood early digs if you don’t know how to breach them.
- Flat terrain with a soil layer. Soil is faster to dig and lets you plant surface crops immediately. Digging straight into a mountainside into solid rock is slower and requires more setup.
Take the default embark loadout the first time. The preset includes picks, an axe, seeds, plump-helmet spawn, a few animals, and provisions. It is balanced for a standard start.
The first-year checklist
A stable fortress is one that solves four problems in order: shelter, stockpile space, food and drink, and beds. Everything after that is ambition. The checklist below is the order most experienced players follow because each step unblocks the next.
1. Dig a shallow entrance and a stockpile corridor
Designate a 3-tile-wide tunnel into a hillside and branch off a larger room immediately inside. Place your starting stockpile here and flag everything to be hauled in. The goal is to get your goods under cover before the first night, because wildlife and thieves arrive within days and unprotected goods are lost.
2. Strike the earth: mining and rooms
Designate mining for a few connected rooms off your entrance tunnel: a stockpile room, a workshop area, and a dormitory. Do not over-design — a new player who plans a sprawling grid before they have beds usually runs out of booze first. Mine what you need, expand later.
3. Build a plump-helmet farm
Plump helmets are the default dwarven crop because they grow underground year-round, can be eaten raw, and brew into the drink dwarves need constantly. Breach a soil layer or irrigate a rock layer with a bucket brigade from the river, build a farm plot, set it to plump helmets in all four seasons, and assign a Grower to the Farming work detail. One 3x3 plot fed by a single grower sustains a starting seven-dwarf population on food and drink if you keep brewing.
4. Set up a Still and a Carpenter
The Still brews plump helmets into dwarven wine. Dwarves drink alcohol, not water — a fortress that runs out of booze sees production collapse and eventually death by thirst. Build a Still early and queue repeated “brew drink from plant” orders. The Carpenter produces beds, barrels (needed for booze storage), and bins. Both workshops need a stockpile of their input materials nearby or dwarves waste time hauling.
5. Bedrooms and a meeting area
Dwarves get negative thoughts from sleeping on the floor in a crowd. Carve a row of 1x3 bedrooms off a corridor, place a bed in each, and assign them through the rooms/zones menu. A shared dormitory is acceptable for the first season; individual rooms become important as stress accumulates. Designate a tavern or meeting area so dwarves socialize and fulfill social needs rather than standing idle on the surface.
6. A bridge entrance and a trade depot
By autumn, the first dwarven caravancaravan. A player-driven trade convoy that moves goods between settlements — valuable, and vulnerable to attack. arrives. Build a Trade Depot inside your walls and a raising bridge at your entrance. The bridge doubles as a door: raise it to seal the fort from sieges and forgotten beasts. Link the bridge to a lever with a Mechanic, then pull the lever to test it. A bridge that cannot be raised is a fortress that cannot be sealed.
7. A military squad
Recruit two or three dwarves into a squad, assign them barracks from a spare room, and set them to train year-round. Give them weapons from your early metal industry or crossbows if you have bone or wood bolts. The military is not optional past the first year — ambushes and sieges scale with fortress wealth, and a fortress with no military and high wealth is a target.
8. Burrows and alert orders (optional but recommended)
Burrows restrict where dwarves go. Define a “inside” burrow covering your fortress interior and set a civilian alert that snaps all civilians into that burrow when a siegesiege. A timed, large-scale attack on a settlement — attackers try to destroy it, defenders try to hold it. appears. Without this, dwarves will path to the surface to haul a sock and walk into a goblin raid.
The five most common early-fortress deaths
Most early failures fall into five categories. Knowing them in advance is most of the defense.
1. No booze — dehydration cascade
Dwarves drink alcohol. Water is an emergency substitute and gives bad thoughts. A fortress that forgets to brew — or that brews once and then lets the Still sit idle when the grower is reassigned — runs dry within a season. The warning sign is the Still showing no available barrels or no plants to brew. The fix is to keep at least one grower permanently on Farming, keep a Carpenter producing barrels, and set the Still to repeat brewing. Aim for 30+ drink units per dwarf as a buffer.
2. The undead wildlife or werebeast surprise
Evil biomes can raise corpses as undead, and werebeasts can ambush your fortress at the full moon once enough time has passed after embark (the timing is adjustable in the difficulty settings). A single werebeast in the first year, in a fort with no military and an open entrance, can kill most of your dwarves during a full moon. The fix is a sealable bridge entrance, a burrow alert, and at least a token military squad by mid-year. Never leave the entrance fully open at night.
3. Aquifer flood during digging
When you mine into an aquifer tile, water begins flowing from that tile indefinitely. If you breach it in a narrow tunnel below the water source, the water has nowhere to go and fills the tunnel, drowning miners and flooding lower levels via stairs. The safe approaches: dig into a soil layer above the aquifer for your early rooms, or use the double-slit method to breach light aquifers with pumps and walls. Heavy aquifers in a starting site are a reason to re-embark.
4. Stress spiral from bad conditions
Dwarves accumulate negative thoughts from sleeping on the floor, drinking water, eating without a table, being rained on, seeing corpses, and losing friends. The Steam release tuned stress to be less punishing than older versions, but a fortress with no bedrooms, no tavern, a corpse-strewn entrance, and a month-long hauling backlog will still see dwarves go from unhappy to tantruming. Tantrum spirals — where one dwarf punches another, the victim dies, their friend tantrums, and it compounds — are a classic end-state. The fix is incremental: beds, a meeting area, a prepared-food stockpile, and a temple for each deity your dwarves worship.
5. Digging too deep, too fast
The caverns below your fortress are populated by forgotten beasts, giant cave spiders, and other creatures that path upward through open staircases. A new player who mines a central staircase straight down to find magma or ore will punch through the cavern ceiling and invite whatever lives there into the dining room. The fix is to seal each cavern breach with a floor or wall as you expose it, and to keep a military ready before you dig past the first cavern layer.
A note on losing
Dwarf Fortress uses the phrase “Losing is fun” as its unofficial motto, and it is not irony. The game records every fortress in your world’s history; a failed fort leaves ruins that future adventurers can visit. The expectation is that you will lose forts, learn why, and start a new embark with that knowledge. The Steam release does not change this loop — it makes the first few hours readable enough to reach the interesting failures.
Sources & further reading
- Dwarf Fortress on Steam — store page and current build: https://store.steampowered.com/app/975370/Dwarf_Fortress/
- Dwarf Fortress official site (Bay 12 Games): http://www.bay12games.com/dwarves/
- Dwarf Fortress Wiki — Fortress Mode guides and mechanics: https://dwarffortresswiki.org/
- Dwarf Fortress subreddit r/dwarffortress — beginner questions and failure reports: https://www.reddit.com/r/dwarffortress/
- Kitfox Games — Steam release publisher page: https://kitfoxgames.com/
- Quickstart guide (Dwarf Fortress Wiki, current v50/v53 build): https://www.dwarffortresswiki.org/index.php/Quickstart_guide
Next read
- For the emotional half of the simulation, see Dwarf Fortress: Stress, Needs, and Mood Management.
- All our coverage lives on the Dwarf Fortress hub.