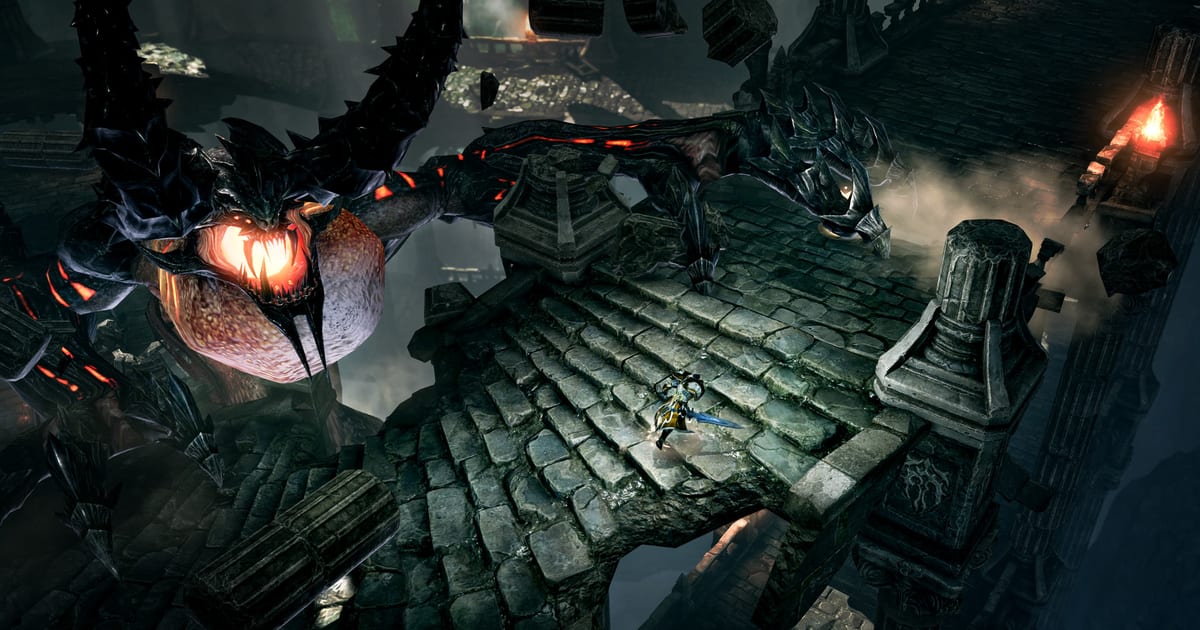
The August 2026 update, The Bitter Cold, brought a limited-time endgame gate that resets the conversation around which classes earn a raid spot. Kazeros Raid: Act 2 Extreme is a four-week, three-tier version of the Brelshaza encounter, and its item-level walls force a clear separation between builds that can survive the check and builds that simply clear it.
What changed
The Bitter Cold arrived on August 11, 2026, with downtime beginning August 12. The headline content is Kazeros Raid: Act 2 Extreme, a limited-time encounter that runs from the weekly maintenance on August 12, 2026 until the weekly maintenance on September 16, 2026. Players enter by clicking the “Extreme” button inside the entry UI for Kazeros Raid “Act 2: Requiem of the Floating Nightmare.”
The encounter is split into three escalating difficulties, each gated behind a recommended item level:
- Normal: 8 players, item level 1720 or higher
- Hard: 8 players, item level 1750 or higher
- Nightmare: 8 players, item level 1770 or higher
Each difficulty shares a single weekly entry per roster. Normal and Hard use the individual resurrection system, which can only be used once per character. Nightmare disables individual resurrection entirely, which is the single most important rule for build selection: a class that can self-peel and survive burst is worth more than one that dies and cannot come back.
Rewards are granted on defeating Phantom Manifester Brelshaza. Normal awards 20,000 gold plus 150 Coin of Fire and Ice tokens; Hard and Nightmare each award 45,000 gold plus 200 tokens. A first-clear reward is granted once per roster regardless of difficulty, and clearing Nightmare for the first time grants the Legendary Title “Lord of the Bitter Cold.” Gold rewards are granted whether or not the character is designated a Gold Earner.
How the encounter shapes the tier list
Because the official patch notes do not publish a class ranking, any tier list here is an interpretation of the encounter’s demands rather than a developer-endorsed ordering. The two forces that decide a class’s value in Act 2 Extreme are straightforward: burst windows aligned to stagger checks, and survivability under Nightmare’s no-resurrection rule. That produces three rough bands.
Top band — stagger and survivability specialists. Classes that can drop reliable, high-frequency stagger damage while staying alive tend to anchor parties. Gunlancer remains the clearest pick for a survival-first roster slot because its shield and taunt tools let it eat patterns that would kill a squishier class, and its stagger output is consistent across phases. Paladin and Artist continue to be the backbone supports; their shields, heals, and damage buffs smooth the rough damage check, and a support that keeps the party above the resurrection line is worth more than a fifth dps in Nightmare. Among damage dealers, Soulfist’s burst window lines up well with phase-check timing, and Artillerist’s turret uptime gives steady stagger without demanding risky positioning.
Solid band — strong damage with manageable risk. Berserker, Bard, Summoner, Arcanist, and Machinist sit here. They clear the damage bar fast enough to keep phases honest, but each has a survivability caveat a player should plan for. Berserker’s identity window is burst-heavy but the class is melee and vulnerable during Brelshaza’s teleport patterns; pair it with a Paladin or Artist and the risk shrinks. Bard trades a little damage for shielding flexibility and stays in the support tier. Arcanist and Summoner are ranged damage options with good output once the rotation is locked in, and Machinist’s stationary damage profile is fine on Normal and Hard but demands discipline on Nightmare.
Situational band — high ceiling, higher demands. Deathblade, Reaper, Shadowhunter, Soul Eater, Sharpshooter, Deadeye, Gunslinger, and Wardancer all clear content at the top level in practiced hands, but they ask more of the player and the party. They reward uptime and pattern knowledge and punish mistakes hard, which is exactly the trade-off you do not want on a no-resurrection difficulty. None of these are unplayable; they are simply not the first picks for a roster still learning the gate.
Engraving builds and stat priorities
Lost Ark builds rest on three layers: your combat stats, your engravings, and your identity rotation. The encounter’s stagger checks and damage patterns push specific choices.
Combat stats. Two stats dominate endgame dps builds. Critical Hit and Specialization are the default damage pair for burst classes that want big identity windows, because Specialization scales your class identity meter and your heaviest skills. Swiftness is the alternative for classes that value cooldown recovery, movement, and consistent pressure over peak burst; Wardancer and Striker often run Swiftness-heavy spreads, while Soulfist and Sorceress lean into Specialization. Supports run Swiftness almost universally to keep cooldowns cycling. There is no single correct ratio — it is decided by class and by which engraving setup you commit to.
Core dps engravings. Grudge is the long-standing multiplicative damage pick for ranged and safe-uptime classes, and it remains the highest-output option for players who can avoid taking hits. Keen Blunt Weapon pairs with high Crit rate builds for a damage multiplier at the cost of a small chance to deal reduced damage. Raid Captain rewards movement speed builds, Master Brawler boosts frontal-attacking melee, and Hit Master suits skills with no positional requirement. Precise Dagger and Adrenaline help a build hit Crit cap, while Allout Attack and Master’s Tenacity serve specific skill profiles. Most dps builds run two damage engravings plus a utility or survival pick such as Spirit Absorption, Max MP Increase, or Awakening.
Survival engravings. Because Nightmare removes resurrection, defensive engravings carry real value this gate. Heavy Armor, Max HP Increase, and Emergency Rescue are the usual picks for a dps that wants a safety margin, while Grudge’s damage-up, defense-down trade becomes riskier on a no-revive difficulty. The honest read: a build that drops Grudge for a defensive engraving loses damage but stays alive, and an alive dps outperforms a dead one every time.
Support engravings. Paladin and Artist build around Awakening for faster identity uptime, Expert for healing effectiveness, and Heavy Armor or Vital Point on some setups. Drops of Ether and Awakening remain the throughput staples; the goal is keeping shields and heals cycling faster than the encounter applies pressure.
Stat and gear targets per difficulty
Gating is by item level, but clearing is by build. A reasonable set of benchmarks:
- Normal (1720+): two engraved combat engravings at level 3, Crit or Swiftness at a comfortable spread, level 5+ gems on your main skills, and a full card set or near-full set for the relevant stat bonus.
- Hard (1750+): three level-3 engravings with one defensive layer, level 7 gems on your identity skills, and gear refined to the point your stagger output clears phase checks with time to spare.
- Nightmare (1770+): a fully locked build — three damage/utility engravings plus a survival engraving, level 7+ gems across the board, maxed or near-maxed card set bonuses, and supports with shields strong enough to absorb Brelshaza’s teleport bursts without a resurrection to fall back on.
A note on roster composition: because Act 2 Extreme is an eight-player gate, a balanced roster typically runs two supports and six damage dealers, with at least one Gunlancer or durable frontliner anchoring stagger. Parties that stack five squishy dps without a survival layer tend to burn individual resurrections on Normal and Hard, and on Nightmare that means losing the run. The gate rewards composition discipline as much as it rewards individual damage output.
What it means for players
The Bitter Cold reframes roster building around one question: can your class survive Nightmare without a revive? Classes that combine stagger output with personal survivability — Gunlancer, the two support classes, and burst dealers with clean windows — sit at the front of the queue. High-ceiling melee and ranged dps remain viable but ask more from the party and the player. Engraving and stat priorities should lean slightly more defensive on Nightmare than on Normal and Hard, because a dead dps contributes nothing, and the gate gives no second chances at the top tier.