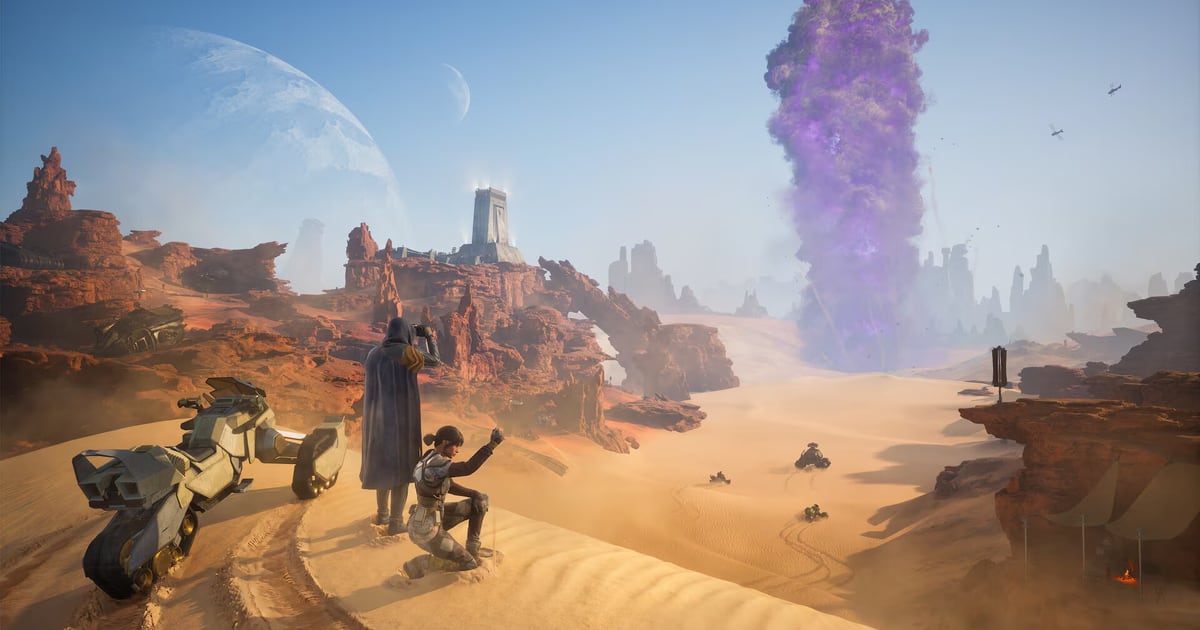
Arrakis is the most hostile planetary environment in science fiction, and Funcom’s MMOMMO. Massively Multiplayer Online — a game that hosts very large numbers of players together in one shared, persistent world. survival sandbox Dune: Awakening translates Frank Herbert’s desert laws into unrelenting survival mechanics. On Arrakis, you do not just fight rival Harkonnen and Atreides factions for spice; you fight the sun, the sand, dehydration, and the colossal Shai-Hulud sandworms. Surviving beyond the rocky outcroppings of the Hagga Basin demands strict adherence to Water Discipline.
What this covers: Sunstroke meter and shade mechanics, Stillsuit catch-pocket recycling, Dew reaping, Blood extraction, and Sandworm vibration detection. Why it matters: Direct exposure to the midday desert sun builds sunstroke, accelerating dehydration until an empty hydration gauge starts draining your health. Who should pick this: Sleepers venturing beyond the protective shields of canyon settlements into the open Deep Desert.
Water Discipline: Hydration Tiers and Stamina
Water Discipline is more than a damage-avoidance rule — it directly changes your stamina bar. Hydration is divided into three levels, and each threshold grants a tangible bonus:
- Above one-third hydration, your maximum stamina increases.
- Above two-thirds hydration, it rises again, up to one and a half times your base stamina bar.
- At zero hydration, the Dehydration negative status applies and gradually reduces your health until you drink.
That three-band structure is why the desert’s real cost is opportunity. Running a full stamina bar and a full hydration gauge are the same decision, so a detour to a windtrap is not just topping up a resource — it is unlocking the sprint that carries you back to the rocks before a worm breaches. The base side of this is safe: watersealed bases retain the moisture you expel, and water use inside them is minimal, so an AFK session at a base costs almost nothing, though prolonged inactivity can still trigger an automatic server kick.
The Sunstroke and Hydration Dynamic
On Arrakis, your survival HUD is dominated by two interrelated indicators: the Hydration Gauge and the Sunstroke Meter:
| Environmental State | Water Loss Rate | Sunstroke Build | Tactical Mitigation |
|---|---|---|---|
| Deep Shade / Indoors | Minimal baseline decay | 0% (Cooling down) | Safe zones for crafting, resting, and inventory sorting |
| Morning / Twilight | Moderate decay | Slow build | Optimal windows for ground transit and resource scouting |
| Direct Midday Sun | Accelerated loss from sunstroke | Critical Overheat | Must take refuge under rocky overhangs or deploy pop-up shelters |
| Running on Open Sand | Severe moisture burn | Rapid build | Generates rhythmic vibrations that summon Shai-Hulud |
Always map your travel routes across rocky ridges. Moving across exposed sand dunes not only spikes your body temperature but alerts nearby sandworms through surface seismic vibrations.
Sandworm Threat and the Vibration Meter
Shai-Hulud hunts by vibration. A sandworm is drawn to walking on open sand, to ground vehicles like the sandbike or buggy, to aerial vehicles like the ornithopter, to any Holtzman technology such as suspensors or shields, to tools such as cutterays and static compactors, to combat, and to a placed Thumper. The more noise you make, the higher your individual threat level, and worms generally target the highest threat — but they will investigate anyone who enters their territory, and standing still does not make them forget you.
The on-screen vibration meter is the tell: white or yellow means low threat, orange means the worm is aware and may move toward you, and red means it is close and about to breach. A small worm breaches once as a warning, submerges to reposition for a short grace period, then charges and kills if you are still on open sand. Run for rock or a vehicle the moment you see the warning breach; the meter clears only after the worm has lost interest. Crouching produces less vibration than sprinting, and the red “drumsand” stretches amplify noise further, but once a worm is locked on, stealth stops mattering and speed is the only recourse.
Death by sandworm is the harshest penalty on Arrakis: being eaten destroys your backpack and equipped gear along with the loot you carried. The first death is a tutorial exception — you respawn in a spice limbo where The Guide sends you back with a sandbike — and the only items that survive later deaths are the Vehicle Backup Tool and quest items. Hagga Basin holds around ten “small” worms, each roughly 377.5 metres long, while the Deep Desert carries up to fifty plus the larger Grandfather worms, which require a crater spice field, at least two to four players present, a field at least 1,000 metres from a server border, 1,000 Spice Sand gathered, and about one to two hours of server cooldown.
Thumpers are the counter-tool. Unlocked after the fifth Trial of Aql, a Thumper pulses shockwaves that generate extreme sandworm threat, overriding every other attraction source in its detection radius. Place two or three away from the spice you are harvesting, then move; the worm will chase the distraction briefly before destroying it.
The Stillsuit: Reclaiming Every Drop
The Stillsuit is not mere armor; it is a full-body micro-filtration life-support system that processes human moisture:
- Catch-Pocket Filtration: As you sprint and fight, sweat and bodily fluids are filtered through heel-pumps and multi-layer fabric membranes, depositing clean drinking water directly into your suit’s reservoir catch-pocket.
- Suit Tiers: Stillsuits come in six tiers, from Tier 1 Copper scavenger garments up to Tier 6 Plastanium CHOAM and Imperial sets — upgrade your suit as you push deeper into the desert.
Stillsuit Tiers and Catchpocket Management
A stillsuit’s catchpocket fills with filtered water as your hydration drops, and an indicator beside the hydration bar shows how much it has recovered; pressing the interact key drinks it back. Because the suit recycles what you already have, it stretches a single Literjon across a much longer trip, but the tier of the suit decides how much of that moisture is recoverable.
| Tier | Material | Example Sets | Stage of Progression |
|---|---|---|---|
| Tier 1 | Copper | Scavenger, Hollower | First steps out of the Hagga Basin |
| Tier 2 | Iron | Kirab, Menol’s | Early base building |
| Tier 3 | Steel | Slaver, Kel’s | Mid-game desert pushes |
| Tier 4 | Aluminum | Native, Shadrath’s, Maraqeb | Crafted desert gear |
| Tier 5 | Duraluminum | Mercenary, Saturnine, Batigh | Late-game Deep Desert runs |
| Tier 6 | Plastanium | CHOAM, Imperial, Villari’s | Endgame factionfaction. An in-game group or nation players can align with or fight against, with its own goals and reputation system. sets |
Upgrading the suit is a straight investment in distance. Carrying a Decaliterjon, which holds up to 10,000 mL, pairs naturally with a high-tier suit, since the suit slows the drain while the flask raises the ceiling on how much water you can bring into the open desert.
Harvesting Water: Dew and Blood
Water is the universal currency of Arrakis. To fill domestic cisterns, survivors utilize two primary harvesting methods:
- Windtraps & Dew Reaping: A Windtrap gathers water from the air at about 2,700 mL per hour, but each must be built outdoors within range of your Sub-Fief Console and kept stocked with filters. Dew is harvested from dew patches and saplings with a Dew Reaper or Dew Scythe, best after dark and around dawn, and stored in carried Literjons.
- Corpse Recovery (Blood Extractors): Fremen tradition commands that a man’s water belongs to the tribe. The Blood Extractor drains blood from fallen enemies into Blood Sacks, which a Blood Purifier at your base converts into drinkable water — or haul whole corpses home and drop them into a Fremen Deathstill, which drains them of all their blood and pumps out water.
Windtrap and Blood Chain Details
Windtraps convert ambient moisture into drinkable water, but they are power-hungry placeables with real constraints. A standard Windtrap gathers 0.75 mL per second, holds 500 mL internally, costs 75 power, and needs a Filter installed to run — a Makeshift Filter lasts about three hours and a Standard Filter about eight. It must be outdoors and placed within range of a Sub-Fief Console, and it can be re-routed between base production and storage structures. A Large Windtrap exists for the mid-game, alongside Water Cisterns for bulk storage.
Blood is the other reliable source, and it has its own supply chain. A Blood Extractor drains fallen enemies into Blood Sacks; those sacks are carried home and deposited into a Blood Purifier, which converts the blood into water that can be drunk directly from the refinery or stored in Literjons. Better gear widens the chain — the Blood Extractor Mk4 and Medium Bloodsacks let you carry more, and an Improved Blood Purifier processes faster. Drinking blood straight from the refinery rehydrates you but temporarily reduces your maximum HP, a reasonable emergency trade in the field and a poor one in a fight.
Reading the Environment
Beyond the meters, Arrakis telegraphs its dangers. Coriolis storms and other environmental hazards punctuate the day-night cycle, and dew harvesting is tied to the clock: the optimal window for Dew Patches is the time of day the interface marks as Blue, and harvesting dew from patches and saplings should be done after dark and around dawn, when each plant yields more. The Industrial Dew Scythe Mk4 out-harvests the cheaper Dew Reapers at the cost of materials and power, and a Decaliterjon makes the trip worthwhile by holding ten times a Literjon’s volume. Between storms, the practical routine is to run ground transit during morning and twilight, take shelter from the midday sun, harvest dew overnight, and keep the windtraps filtered so the cisterns never run dry.