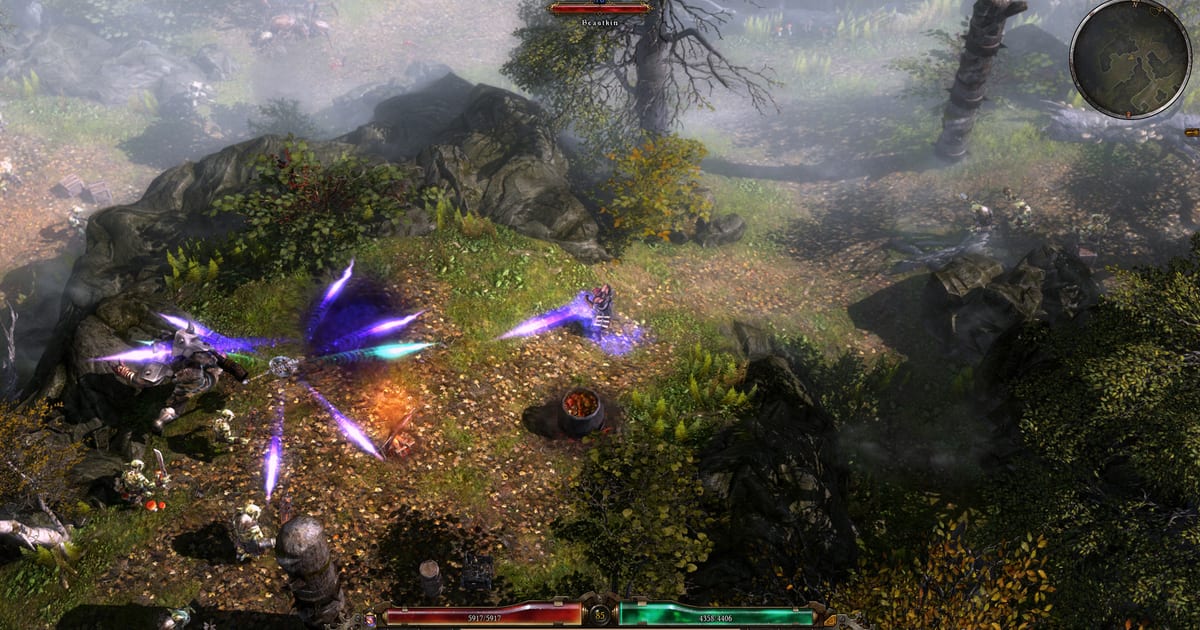
Grim Dawn is a game of balance between offense and defense, and the two systems that decide where your character lands on that line are masteries and devotions. Crate Entertainment’s own developer notes describe the devotion system as a constellation map where each completed constellation grants an affinity bonus that unlocks further constellations, and where celestial powers can be bound to any skill in your masteries or equipment. This guide lays out how mastery combinations interact with devotion pathing and how to build a character that holds up in Ultimate difficulty.
How the devotion system works
You earn devotion points as you play and spend them to unlock stars inside constellations. Each star grants a passive bonus; completing a constellation earns an affinity bonus in one of five colors — Primordial, Chaos, Eldritch, Order, and Ascendant. Those affinities gate access to higher-tier constellations, so the map is effectively a tech tree you unlock by completing cheaper constellations first.
Crate’s developer update on the system confirms the binding layer: celestial powers, the procs that make devotions powerful, are assigned to specific skills. There is a limit of one celestial power per skill, but no hard cap on how many you can have active at once — you could bind one to a spammable skill, one to a cooldown ability, and one to a buff simultaneously. Powers bound to equipment skills remain assigned if you swap gear, but stop gaining experience while unequipped.
The standard approach, documented across the community guides that Crate itself links to, is to work backwards. Identify the tier-three constellations you want — the ones at the periphery of the map that cost the most affinity and yield no returns — then fill in the cheaper transitory constellations that supply the right affinity colors on the way there.
Affinity returns and pathing efficiency
Not all constellations are equal investments. The community-compiled reference highlights the highest-return options, such as Eel for Primordial affinity and Toad, Quill, and Wraith for affinities split across two colors. These are the connective tissue that lets you reach expensive tier-three constellations without wasting points.
The guiding rule is that a constellation returning roughly as much affinity as it costs in nodes is acceptable, one more than its node cost is good, and two more is rare and excellent. Tier-one constellations you can reach immediately tend to offer the best returns, which is why pathing through them is standard practice. Once you have completed a target constellation, you can respec out of the transitory nodes you no longer need, refunding those points for use elsewhere.
Resistance reduction is the single most important stat for damage scaling, and devotions supply several flavors of it. The reference list names the key options: Assassin’s Blade for physical and piercing, Solael’s Witchblade for fire and chaos, Murmur for cold and acid, Widow for lightning and aether, Huntress for bleeding, and Rattosh for vitality. Grim Dawn’s mechanics apply three different reduction types in a fixed order, and only one source of each of the flat-reduction types stacks, so you pick one flat source and stack the percentage sources.
Mastery combinations and what they enable
Grim Dawn lets you combine any two of its masteries, and the combination defines what your build can actually do. A Soldier-based mastery brings weapon pool skills and physical damage scaling; an Arcanist brings aether and elemental scaling plus cooldown reduction; an Occultist brings vitality, chaos, and curse support; a Shaman brings lightning and pet bonuses; a Demolitionist brings fire and chaos with strong proc support; a Nightblade brings piercing, cold, and dual-wield mechanics; a Necromancer brings vitality and minion support; an Inquisitor brings elemental and ranged support with seals; and an Oathkeeper brings retaliation, fire, and defensive buffs.
The build framework is less about which two masteries you pick and more about what hole that combination leaves. A dual-wield piercing Nightblade build has high offensive ability but low armor and health, so devotion pathing should lean toward survivability — Obelisk nodes, Solemn Watcher, defensive procs like Giant’s Blood bound to a temporary buff. A shield-based Oathkeeper tank has the opposite problem: it survives everything but needs devotion sources of damage-over-time to actually kill, which is where constellations like Targo’s Anvil or retal procs come in.
The point is that devotions are not a standalone system. They are the tuning dial that closes the gap your mastery combination and itemization leave open.
Binding celestial powers to the right skills
Where you bind a celestial power determines how often it fires. Procs with “on attack” or “on critical” triggers should go on skills you use constantly — an auto-attack replacer like Savagery or Cadence, or a frequently cast skill. Shotgun-style skills that fire multiple projectiles are especially good for resistance reduction procs, because each projectile rolls its own proc chance independently.
“On being hit” and “on block” procs are best bound to permanent auras so they have the widest window to trigger. A more advanced technique binds a heal proc like Giant’s Blood to a temporary buff like Blast Shield, so the heal only fires when the buff is active and you actually need it. This requires thinking about cooldowns: devotion procs enter cooldown the moment they fire and are affected by cooldown reduction, while character buffs enter cooldown after they end. Aligning those timers is what separates a proc that fires reliably from one that sits dormant.
Aeon’s Hourglass deserves special handling. Its proc reduces all skill cooldowns, so you want it bound to a skill with a long enough cooldown to maximize its activation chance, and ideally a skill you do not otherwise rely on — something you cast specifically to trigger the Hourglass effect.
A framework for Ultimate difficulty
Ultimate difficulty demands a character that can both kill fast enough not to be killed and survive long enough to kill. Start with resistance capping — all resistances overcapped against resistance debuffs — because Ultimate enemies apply substantial debuffs. Then layer the defense chain Grim Dawn applies damage through: dodge and fumble, chance to hit, shield block, percentage damage reduction, racial damage reduction, armor, resistances, and flat absorption, in roughly that order.
For devotion pathing in Ultimate, the must-haves depend on damage type but a few are near-universal: Ghoul for its life-steal proc, Hawk for offensive ability and crit, and a resistance reduction constellation matching your damage type. From there, pick one or two tier-three constellations that fit your build — Dying God for total speed and crit damage on auto-attackers, Ulzuin’s Torch for fire, Leviathan for cold, Mogdrogen for bleeding — and path to them through efficient transitory constellations.
Fill remaining points into crowd-control resistance nodes, which are scattered across constellations like Aeon’s, Sailor’s Guide, Scarab, and Obelisk. Slow, stun, freeze, and trap resistance are often the difference between surviving a nemesis pack and dying to it. You can leave constellations incomplete to grab just the CC-resistance node you need.
What it means for players
Grim Dawn’s depth is in the interaction between systems. Masteries give you the skills and the damage type; devotions give you the affinity pathing and the procs that fill the gaps; itemization decides which of those gaps actually need filling. A build that works on Elite can fail on Ultimate not because the numbers are too low but because the devotion pathing did not account for the CC resistance or the resistance reduction the higher difficulty demands.
The framework is repeatable: pick your damage type, pick a resistance reduction constellation for it, pick one or two tier-three damage constellations, path to them efficiently, bind procs to skills that fire them often, and spend leftover points on survival and CC resistance. Test against a nemesis or a rogue-like dungeon boss, then adjust. The devotion respec makes this forgiving — you can pull points out of a path you no longer need and put them somewhere more useful once your target constellation is complete.