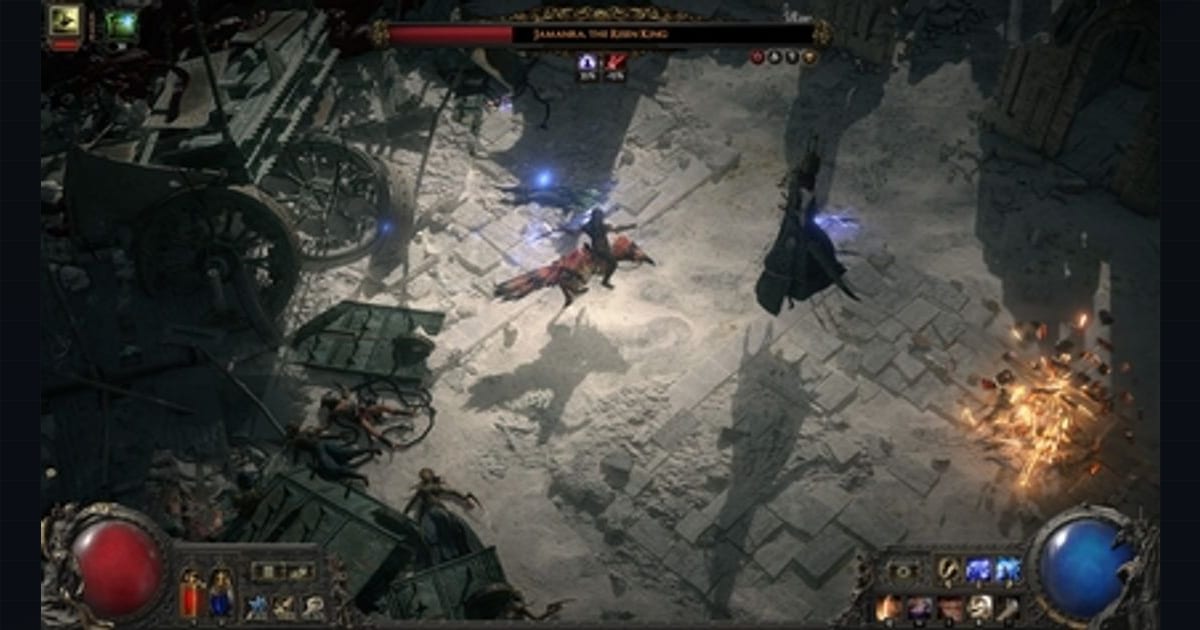
Path of Exile 2 drops you on a beach with a weapon and almost no explanation, then spends three acts quietly stripping your defenses away. The campaign from the first coast to the end of Act 3 is where you learn the systems that decide whether the Atlas endgame is survivable — resistances, attribute gating, resource management, and the ascension trials that hand you your build’s identity. This primer covers the run up to the Act 3 Cruelty transition, when the resistance penalty has compounded to the point that the Atlas becomes the real test.
What changed
Path of Exile 2 reframes several systems that returning players might expect from the first game. Resistances are still the most important defensive stat, but the game applies a permanent area-level penalty that widens as you progress rather than a flat endgame hit. The penalty ladder is exact: no penalty at area levels 1–15, then -10% to all Elemental Resistances at 16–32, -20% at 33–44, -30% at 45–53, -40% at 54–59, -50% at 60–64, and -60% at 65 and above. Chaos Resistance is unaffected. By the time you reach the Atlas, you are 60% down on every element before equipping a single item.
The campaign maps cleanly onto this ladder. Act 1 carries no penalty, Act 2 applies -10%, Act 3 applies -20%, and Act 4 applies -30%. The three Interludes then move the penalty to -40% for the first and -50% for the second and third before the Atlas locks in the final -60%. Characters are required to be at least level 25 to enter the legacy Cruel difficulty areas and level 50 to enter Endgame areas, so the level gates and the resistance gates move together. The default maximum for Elemental or Chaos resistances is 75%, and that ceiling cannot be raised above 90%.
How it works
Resistances
Resistances reduce damage taken of the corresponding type — Fire, Cold, Lightning, or Chaos — up to a maximum. Fire, Cold, and Lightning are the Elemental Resistances, and they are the ones the area-level penalty erodes. The penalty is applied based on the level of the area you are in, so your hideout carries the penalty of wherever you last were, and stepping into a higher-level zone can drop your effective resistances mid-map. Uncapped Resistance is the value a resistance would have ignoring the maximum, shown in parentheses in the Character Panel; Overcapped Resistance is how far your uncapped value exceeds your maximum, which matters for sources that convert overcapped resistances into other bonuses.
Exposure is the debuff you will meet on enemies and occasionally on yourself: by default it lowers total Elemental Resistances by 20% for 4 seconds, though some sources override those numbers, and higher-rarity enemies are less affected — 15% less effect on Magic monsters, 30% less on Rare, 50% less on Unique. Elemental Weakness is a curse that lowers Elemental Resistances by 30% for 20 seconds. Penetration only affects Hits, applies to the target’s defensive stats, and does not affect ailments. The practical takeaway for a beginner is that your gear needs to overcap Elemental Resistances enough to land near 75% after the area penalty, and a stash slot should be reserved for a high single-element resistance piece for maps heavy in one damage type.
Attributes and requirements
Skill Gems and equipment both have attribute requirements. Skills can be used by any class as long as the attribute and weapon requirements are met, and Support Gems slot into a Skill Gem’s sockets to alter the skill. The three main resources are Life, Mana, and Spirit — Life is your damage pool, Mana fuels skills, and Spirit covers persistent buffs and minions. You can earn 100 base Spirit by defeating the three optional campaign bosses that drop permanent Spirit rewards, and several quest rewards grant permanent stat bonuses (for example, the Sisters of Garukhan grant +10% to Lightning Resistance, and various Draughts and Essences grant small permanent buffs).
Classes and the passive tree
All classes share one Passive Tree, but each starts in a different area, so the nodes near your starting point are the ones that matter early. Each class can choose from up to three Ascendancy Classes, unlocked through the Trial of the Sekhemas and the Trial of Chaos, and those specializations come with build-defining passives. If you misallocate, you can respec Passive Skills by speaking to the appropriate NPC and spending Gold per point. The beginner move is to focus only on the nodes near your start — that trims roughly 70% of the tree from your decision space.
Build path
Beach to Act 1
Pick a class and accept that your starting region of the tree defines your early options. Follow the main quest, fully explore each area for chests and points of interest, and kill as much as you can so leveling does not become a bottleneck later. Unlock the Hooded One through the Mysterious Shade quest line in Act 1 — he identifies items for free, which saves Gold. Equip larger flasks as they drop and use currency to give them recovery modifiers. Pick up and salvage any gear with Rune Sockets or Quality: salvaging socketed gear yields Artificer’s Orb shards (10 make an Orb that adds a socket), and salvaging Quality gear yields Armourer’s Scrap, Blacksmith’s Whetstone, or Arcanist’s Etcher depending on the item type, all of which improve item quality.
Act 2 and the resistance climb
The -10% penalty kicks in here. Start checking your resistances in the Character Panel and prioritize gear with Fire, Cold, and Lightning resistances alongside Life or Energy Shield. Use weapon specialization to swap damage types for awkward fights, and keep a secondary weapon set assigned to specific skills. Save your Exalted Orbs — they are the community trading standard, and one buys a solid piece of gear. Gamble for weapons early when Gold is cheap, but stop gambling in later acts as prices scale. Equip the right Charms for boss fights: a Topaz Charm against lightning bosses, a Ruby Charm against fire, and so on.
Act 3 and the ascension trials
Act 3 applies the -20% penalty and introduces the two trials that unlock your Ascendancy. The Trial of the Sekhemas and the Trial of Chaos each grant Ascendancy points, and harder versions later in the endgame give the remaining points for a total of eight. Run the Trial of Chaos repeatedly to farm Soul Cores — socketable items stronger than regular Runes and exclusive to that trial. Pick up the Act 3 side-quest rewards: the Venom Draught, the Flame Core, and the various permanent buffs, all of which compound into a meaningful defensive floor before the Interludes.
Cruelty and the transition
Cruel difficulty was the early-access name for the level-upscaled versions of Acts 1–3 used as a placeholder for Acts 4–6 before a player could reach the endgame. After defeating the Act 3 boss and reaching at least level 25, you advanced through a time portal in the Ziggurat Encampment into Act 1 at Cruel difficulty. Each Cruel act added a permanent -10% resistance penalty, so by the end of Cruel Act 3 you were carrying -50% before the Atlas’s final -60% landed. Note that Cruel difficulty was removed in version 0.3.0 and replaced with Act 4 and three Interludes — the resistance ladder still climbs the same way, only the framing changed. The transition rule that matters is unchanged: you must be level 50 to enter Endgame areas, and your Elemental Resistances need to be overcapped enough to sit near 75% once the -60% penalty applies.
The acts-to-endgame transition
The jump from campaign to Atlas is where most new players hit a wall, and it is almost always survivability. The endgame demands capped Elemental Resistances on paper and enough overcap to stay near 75% after the -60% penalty, plus a healthy Life or Energy Shield pool. Trade is the fastest fix — early Atlas gear often costs one to a few Exalted Orbs per piece on the official trade site. Prioritize Life or Energy Shield depending on which your build uses, and keep a high single-element resistance piece in your stash for element-heavy maps.
Waystones are the second bottleneck. They are rare at first, so clear all enemies and open all containers in each map, buy every Waystone Doryani sells, and use the Reforging Bench to combine three same-tier Waystones into one of the next tier. Run maps with rolled suffixes that increase Waystone drop chance to build sustain. In the Atlas, dying costs 10% of your current level’s XP bar and consumes a map revive; campaign deaths carry no XP penalty, so the real risk begins once you start mapping. Party up for map bonuses: the party UI shows increased currency and general item drop rates for each extra member, and the underlying item-quantity bonus is larger than that visible line.
What it means
The Beach-to-Act-3-Cruelty run is a resistance-management tutorial in disguise. Every act takes a slice off your Elemental Resistances, and the only way to keep pace is to treat resistances, Life, and socketable upgrades as the priority over chasing the rarest drops. The attribute and resource systems stay consistent from the first coast to the Atlas, so the habits you build in Act 1 — salvaging socketed gear, saving Exalted Orbs, picking the right Charms, overcapping resistances — are the same habits that carry you into mapping. By the time the -60% penalty locks in, your gear should already be overcapped and your Ascendancy should be chosen, so the Atlas becomes a question of progression rather than survival.