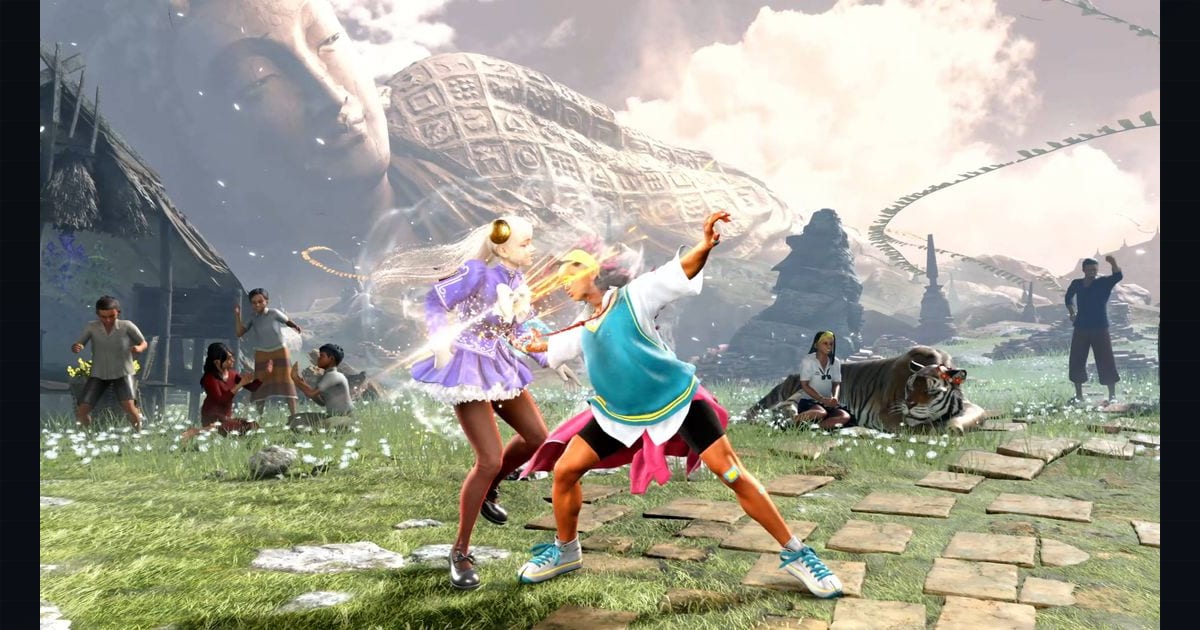
Street Fighter 6 ships a single load-bearing subsystem that every neutral, oki, and pressure decision routes through: the Drive Gauge. Six bars of meter that fund offense, defense, and movement, and that punish you for mismanagement by dumping you into Burnout. The two highest-leverage tools in that system are Drive Rush — the cancel-and-dash that converts normals into plus frames or extends juggles — and Drive Impact — the armored strike that wall-splats and flips neutral. This guide breaks down what each costs, what the frame outcomes are, and where the punish windows actually open, with a reference table for the numbers that matter.
What it covers: Drive Rush and Drive Impact — costs, frame outcomes, and where the punish windows open. Why it matters: Every neutral, oki, and pressure decision routes through the Drive Gauge; mismanagement dumps you into Burnout. Who should pick this: SF6 players learning where their meter should go.
The Drive Gauge at a glance
The gauge holds 6 stocks. Spending is governed by one rule: the moment you hit zero, you enter Burnout, and the entire risk profile of the match inverts.
| Action | Cost | Input | Notes |
|---|---|---|---|
| Drive Rush (raw, from parry) | 1 bar | Parry (MP+MK) → →→ | Dash out of parry; not a cancel |
| Drive Rush Cancel (from a normal) | 3 bars | Cancelable normal → →→ | Cancel a connectable normal into dash |
| Drive Impact | 1 bar | HP+HK | Armored strike, wall-splat near corner |
| Drive Parry (hold) | drains while held | MP+MK (hold) | Absorbs hits, refunds meter on absorb |
| Drive Reversal | 2 bars | while blocking → MP+MK | Counter-poke out of block stun |
| Overdrive (EX special) | 2 bars | special + 2 inputs | EX versions of specials |
| Overdrive (super-cancelled into Critical Art) | variable | — | Burnout blocks Drive spending |
Drive meter regenerates passively when you walk forward, block, parry, and land hits. It drains when you take chip, whiff specials, or hold parry without absorbing anything. Because regeneration is tied to forward movement and engagement, the meter is a forcing function: standing still and waiting will bleed you into Burnout faster than pressing buttons will.
Drive Rush: the cancel that turns neutral
A Drive Rush is a fast forward dash you can trigger from two states: raw, out of a Drive Parry (costs 1 bar), or as a cancel off a Drive Rush-cancelable normal (costs 3 bars). The cancel route is the one that defines the meta. It lets you take a normal that is normally negative on block and flip it plus, or take a normal that is normally neutral and turn it into a full combo starter.
The mechanic to internalize is that Drive Rush Cancel is a fake-pressure engine, not just a combo extender. Canceling a medium that is normally negative on block leaves you at plus frames — the exact advantage varies by normal and character, because the dash covers the recovery frames and you recover in the opponent’s face. That plus-frame state is then spent on a throw, a shimmy, or a low that you could not otherwise force.
| Drive Rush route | Meter cost | Typical block outcome | Typical use |
|---|---|---|---|
| Raw Drive Rush (parry → dash) | 1 bar | plus frames with a normal follow-up (varies) | Close distance in neutral, bait a whiff |
| Drive Rush Cancel off 2MK (low) | 3 bars | plus frames (varies by character) | Plus-frame low into throw / shimmy |
| Drive Rush Cancel off 5MP | 3 bars | plus frames (varies by character) | Frame-trap extension, stagger pressure |
| Drive Rush Cancel off j.HP (air) | 3 bars | varies by normal | Air-to-ground into grounded combo |
| Drive Rush Parry (cancel dash into parry) | 1 bar | absorb + plus frames on perfect | Anti-Drive-Impact abare |
Two cautions on the cancel route. First, the cancel only works on Drive Rush-cancelable normals — not every button is eligible, and the list is per-character. Second, the cancel is reactable: a defender who reads it can Drive Impact the dash, and because Drive Impact has armor through startup, a raw Drive Rush eaten by a DI is a round-changing punish.
The punish window on a whiffed Drive Rush
A Drive Rush has a fixed number of startup and recovery frames before you can act. During the dash you are not in a blockable state for the first portion, which is why a pre-emptive poke or a low check beats it. The punish is not “react to the dash” — it is “have a button already in the space the dash will end in.” That is why round-start Drive Rush is a known gimmick: the opponent can hold down-back and cr.MK you on reaction to the flash.
Drive Impact: the armored strike
Drive Impact (HP+HK) is a two-hit-armored advancing strike that costs 1 bar. Its three properties define its use:
- Armor during startup — it absorbs two hits before becoming active, so it blows through single-hit pokes and confirms.
- Wall splat near the corner — on hit near a wall, the opponent splats in place for a full punish combo.
- Punish Counter on counter-hit — a clean DI hit as a Punish Counter leaves the opponent in a crumple state even midscreen, and a longer stun.
The standard published startup is around 26 frames, which sounds reactable — and against a single isolated DI in neutral, a prepared player can parry or DI back on reaction. The problem is that DI is rarely used isolated. It is layered behind a block string, behind a jump-in, behind a Drive Rush, where the 26f window has already been compressed by the frames you spent blocking.
| Drive Impact outcome | Result | Frame window to punish |
|---|---|---|
| DI whiffed (full) | Long recovery (≈35 frames) | Full combo punish on reaction |
| DI blocked (midscreen) | Heavy pushback, −3 on block | Generally safe; not punishable midscreen |
| DI blocked (corner) | Less pushback, still punishable | Bigger punish, possibly sweep + oki |
| DI hits (midscreen) | Knockdown / crumple on Punish Counter | No punish — your turn ends |
| DI hits (corner) | Wall splat | Full combo for the DI user |
| DI trades with DI | Both reset | Situational; usually both recover |
The DI counter-play loop
Because DI has armor through startup, the universal counter is your own DI (armor cancels armor and the second hit trades favorably), a Perfect Parry (parry on the impact frame freezes and gives you a punish), or a multi-hit move that breaks the two-hit armor. The single most common mistake at low rank is trying to jab DI — a jab is one hit, the armor absorbs it, and you eat the splat. The correct reflex against a DI you read is either DI back, parry, or a low-commit multi-hit normal.
Perfect Parry: the highest-leverage defensive frame
A Drive Parry (MP+MK) absorbs hits and refunds meter. A Perfect Parry is a parry input on the exact frame the opponent’s attack would have connected. It triggers a freeze, gives you significant frame advantage (the advantage scales with the recovery of the parried move), and is the single strongest defensive option in the game because it converts defense directly into a punish.
| Parry type | Input | Outcome |
|---|---|---|
| Normal Parry (held) | MP+MK (hold) | Absorbs hits, small meter refund, roughly neutral |
| Perfect Parry (frame-exact) | MP+MK on impact | Freeze + large plus frames, combo starter |
| Perfect Parry vs projectile | MP+MK on projectile impact | Fixed recovery window; can Drive Rush to advance |
| Parry into Drive Rush | parry → →→ | 1-bar dash, frame-trap or throw |
The practical implication: Perfect Parry turns every blocked string into a read. If a string has a gap, the defender can parry the gap and convert. This is why SF6 pressure is structured around true block strings with no parryable gaps — any gap is a Perfect Parry opportunity, and a Perfect Parry off a heavy normal is a full combo.
The counter to Perfect Parry is delayed buttons, throws, and shimmy. A throw cannot be parried. A shimmy walks out of the parry’s active window and punishes the whiffed parry recovery. And a delayed button after a gap beats the defender who parried too early.
Burnout: when the gauge hits zero
Burnout is the failure state, and it is brutal. In Burnout you:
- Cannot use any Drive ability — no Drive Rush, no Drive Impact, no Drive Parry, no Drive Reversal, no Overdrive.
- Take chip damage from all blocked specials and normals.
- Have increased block stun — strings that are normally interruptible become true.
- Eat a longer Drive Impact stun — a Burnout DI stun is a guaranteed full combo.
Burnout recovers over time, and the recovery is slow enough that the opponent gets a full mixup sequence for free. The strategic lesson: meter management is defense. Spending your last bar on a Drive Rush that gets blocked is not just a whiffed pressure attempt — it is a transition into a state where you cannot Drive Impact a jump-in and cannot parry a string.
Reference table: common punish windows
The numbers below are the widely-published community-tested values; treat per-character variance as real and confirm against a current frame-data source.
| Situation | Block advantage (approx) | Punish? |
|---|---|---|
| Drive Impact blocked (midscreen) | −3 (heavy pushback; safe) | No — safe with pushback |
| Drive Impact whiffed (full) | large minus (≈35f recovery) | Yes — full combo on reaction |
| Raw Drive Rush into block | plus with a normal follow-up (varies) | No — reset to neutral |
| Drive Rush Cancel off 2MK (blocked) | plus frames (varies by character) | No — defender’s turn lost |
| Perfect Parry (any) | large plus (scales with parried move) | Yes — combo starter |
| Drive Reversal blocked | −6 | Yes — whiff punish possible |
| Overdrive blocked (most) | per-move, varies widely | Situational |
How to drill this
The two drills that pay off fastest:
- DI reaction training. Set the dummy to random Drive Impact in a block string. Drill the three responses in order: DI back, Perfect Parry, multi-hit punish. The goal is to make the 26f window automatic.
- Perfect Parry timing on a single move. Pick the opponent’s most common poke (usually 2MK or 5HK). Set the dummy to do it on a fixed rhythm. Parry on the impact frame until the freeze is consistent. Then randomize the rhythm.
Both drills target the same skill: reading the flash and committing inside the reactable window. Street Fighter 6’s Drive system is, at the execution level, a game of identifying which flash you just saw and pulling the correct pre-rehearsed response before the window closes.
Sources & further reading
- Capcom official Street Fighter 6 site — https://www.streetfighter.com/6/
- Street Fighter 6 — SuperCombo wiki (frame data and Drive system mechanics) — https://wiki.supercombo.gg/w/Street_Fighter_6
- Capcom official patch notes and news (streetfighter.com)
- Street Fighter 6 performance coverage — Digital Foundry
- EventHubs Street Fighter 6 coverage and frame data — https://www.eventhubs.com/sf6/
Next read
- For the system underneath online play, see Street Fighter 6: Frame Meter, Input Delay, and Online Tuning.
- For picking a character to use it with, see Street Fighter 6: How to Choose a Main.
- All our coverage lives on the Street Fighter 6 hub.