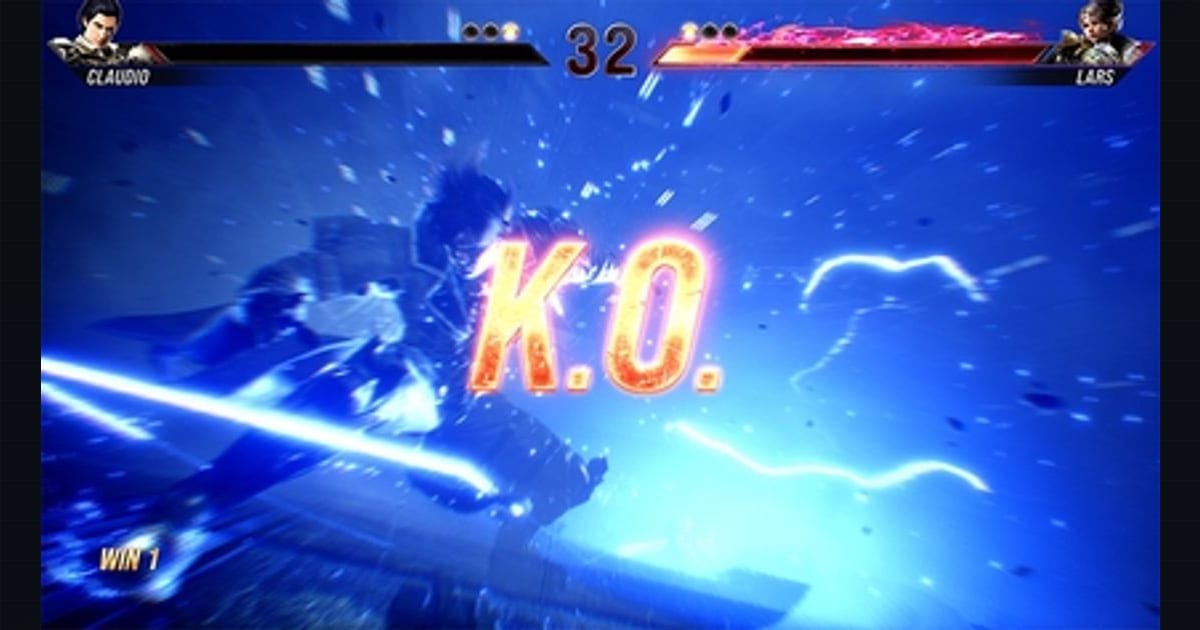
Tekken 8 replaces Rage Drive with the Heat system — a per-round resource that gates your strongest offensive tools, plus-frames, and chip-pressure strings. Unlike Rage Art (which still exists as a panic reversal), Heat is something you actively steer: when you enter it, what you spend it on, and how long you let it run all change the frame math of nearly every exchange. This guide breaks down the activation routes, the frame consequences, and a decision framework for spending versus saving.
What it covers: Heat activation routes, frame consequences, and the spend-versus-save decision framework. Why it matters: Heat gates your strongest offense — steering it changes the frame math of nearly every exchange. Who should pick this: Tekken 8 players learning when to enter Heat and what to spend it on.
What Heat actually is
Each round, every character gets one Heat charge. Activating Heat enters a timed state — a fixed-duration Heat window (the timer pauses while the opponent is hit or knocked down) — during which a set of character-specific moves gain new properties: plus-frames, chip damage on block, extended strings, armor, or launchers that didn’t exist in neutral. Heat does not stack; you cannot bank two. If the round timer runs out while you’re in Heat, the state simply ends.
Two other mechanics sit alongside Heat and are easy to conflate:
- Rage: triggers automatically when your health drops below ~25%. While in Rage, your damage output increases. Rage is passive — you don’t spend it to enter.
- Rage Art: a single-use, invulnerable-armored super usable only while in Rage. It costs your Rage state (you exit Rage after the animation regardless of outcome). This is your panic / punish tool, distinct from Heat.
Heat and Rage can overlap. A low-health character in Rage can still activate Heat, stacking the damage multiplier with Heat’s frame and property buffs. This is the strongest offensive window in the game and the core of most comeback rounds.
Activation routes — how you enter Heat
There are three primary ways to enter Heat, and the entry method determines your frame situation the moment the state begins.
Heat Burst (neutral activation)
Press the Heat input (default: R1 / RB / a dedicated key) with no move buffered. Your character performs a short armored activation animation. On hit, you’re plus; on block, the activation is still relatively safe. Heat Burst has super armor during startup, meaning it will absorb one hit and counter-launch — but it loses to throws and lows that low-crush the armor window.
Use Heat Burst when:
- You want to enter Heat on your terms in neutral, without committing to a string.
- You’re reading a single linear poke and want to armor through it for a launch.
- You need the activation itself to create the scramble (opponent freezes on the flash).
Heat Smash (string-locked activation)
Certain strings — typically signature launchers or stance entries — are designated Heat-engagers. If you press the Heat input during or immediately after these specific moves, you cancel into Heat Smash, a launch-and-combo animation that consumes your Heat entry and immediately burns a chunk of Heat time. Heat Smash deals significant damage and wall-splats, but it front-loads your Heat investment: you enter Heat already mid-combo, so you’ve spent part of your 20-second window on the entry itself.
Use Heat Smash when:
- You’ve confirmed a launcher and want maximum damage from this specific opening.
- Wall proximity makes the wall-splat follow-up lethal.
- You don’t expect a better confirm in the next ~15 seconds.
Heat Dash (post-combo transition)
Some Heat-engager strings, on hit, transition into a Heat Dash — a sprint-cancel that lets you re-press for a combo or reposition for okizeme. This is the route that preserves the most Heat time because you’re not spending animation frames on a fixed Heat Smash sequence; you keep the remaining timer for your pressure game.
Frame implications of being in Heat
This is where the system gets interesting. Heat doesn’t just “make moves better” — it rewrites the frame data of specific moves, and that changes which of your pokes are actually safe to throw.
The core frame changes
| Property | Normal state | In Heat |
|---|---|---|
| Designated Heat moves (block) | Normal frames | Often + on block (varies per move) |
| Chip damage on block | None | Heat moves deal chip on block |
| String extensions | Some strings cut short | Full string unlocks, often ends plus |
| Armor / armor-attacks | Character-specific | Some gain full armor frames |
| Launcher access | Limited to natural launchers | New Heat-only launchers available |
The critical consequence: moves that are normally -10 or worse on block can become plus or neutral during Heat. This means strings you’d never throw in neutral become your primary pressure tools. The catch is that this only applies to designated Heat moves — not your whole movelist. Knowing which of your character’s moves flip from minus to plus is the single most important Heat-specific lab work.
The block chip tradeoff
Heat moves deal chip damage on block. This is small per-hit but compounds across a sustained pressure window. The strategic value isn’t the chip itself — it’s that the opponent can no longer just block-and-wait. They’re losing health by doing nothing, which forces them to press buttons, which is what your plus-frames are baiting. Heat’s frame math and its chip math work together: the frames make pressing unsafe, the chip makes not-pressing unsustainable.
When to spend Heat vs. save it — a decision framework
The central Heat decision is temporal: do you activate now, or do you hold for a better window? There’s no meter to bank (you can’t save Heat across rounds), but within a round, early activation wastes the timer on neutral footsies while late activation may never find a confirm.
The decision table
| Situation | Recommendation | Rationale |
|---|---|---|
| Round start, full health, neutral | Hold | 20 seconds of Heat in pure neutral rarely converts; you’re spending timer on pokes that gain little |
| You’ve conditioned the opponent to freeze | Heat Burst | Plus-frames + chip punish passive blocking; force the scramble you’ve set up |
| You land a natural launcher in open field | Heat Smash | Maximize the confirmed damage now; you were already winning the exchange |
| You land a launcher near the wall | Heat Smash | Wall-splat follow-up is the highest-damage conversion in the game |
| Opponent is in Rage, you’re at mid-health | Hold for read | Don’t feed Rage Art; wait for a whiff-punish window, then Heat Smash the recovery |
| You’re in Rage AND have Heat unused | Activate immediately | Stacking Rage damage with Heat properties is your peak output window |
| Less than ~8 seconds on round clock, Heat unused | Heat Burst for chip | Even blocked Heat moves deal chip; force a timeout-adjacent health lead |
| Opponent is turtling with life lead | Heat Burst + string pressure | Chip + plus-frames specifically break passive defense; this is Heat’s design intent |
| You’re being pressured, Heat unused, no Rage | Do not Heat here | Heat Burst armor can absorb one hit but loses to throws/mix; panic activation burns your only resource for low value |
General principles
- Heat wants a target. Activating into neutral with no read converts fewer of your 20 seconds than activating into a confirmed opening or a conditioned block. The resource is most efficient when the opponent is already forced to choose.
- Heat Smash is for confirms, Heat Burst is for pressure. If you’ve already hit them, Smash. If you’re trying to make them get hit, Burst.
- Never Heat on defense without Rage. The armor on Burst is one-hit and throw-vulnerable; using it as a reversal against ongoing pressure is a coin flip that costs your entire round’s Heat on a wrong guess.
- Stack with Rage when possible. If you’re low-health and still holding Heat, the correct play is almost always to activate — the damage multiplier compounds with Heat’s property changes and creates the highest-leverage window in the round.
- Wall changes the math. Near the wall, Heat Smash’s wall-splat makes the damage so lopsided that holding for “a better window” is usually wrong — the wall is the better window.
Character-specific notes
Heat moves and their frame flips are character-unique. A few patterns recur:
- Rushdown characters (e.g., Hwoarang, Kazuya’s stance entries) gain extended strings that loop plus-frames, turning their pressure into true block strings for the Heat duration.
- Grapplers (e.g., King) often gain armor on command-grab setups, making the throw mix scarier because the opponent can’t interrupt the approach.
- Zoners / spacing characters gain plus-frames on mid pokes that re-establish spacing even when blocked.
The exact moves that gain Heat properties, and their specific frame deltas, vary by patch. Bandai Namco has adjusted Heat move lists and frame data across balance patches, so always cross-reference current patch notes for your character’s Heat-engager strings and the precise on-block values.
Frame-data sources and patch awareness
Tekken 8 frame data is maintained by the community across several references. For exact on-block, startup, and Heat-property values, the standard practice is to check:
- In-game Move Library with frame display enabled (Settings → Display Move Info).
- Community frame-data tools and spreadsheets updated per patch.
- Character-specific Discords and community frame-data wikis (coverage varies per character).
Frame data shifts with balance patches. Treat any specific number as patch-dependent; the structural Heat mechanics above (one charge per round, ~20s duration, Heat Burst vs Smash vs Dash routes, chip on block) have remained stable since launch, but individual move frame values and which strings are Heat-engagers have been tuned.
Sources & further reading
- Bandai Namco — Tekken 8 official site: https://en.bandainamcoent.eu/tekken/tekken-8
- Tekken 8 official patch notes (Bandai Namco), published on the Tekken 8 site
- Community frame-data wikis — Tekken 8 frame data (coverage varies by character)
- Community frame-data tools and spreadsheets — Tekken series frame data (updated per patch)
- Tekken 8 Steam store page: https://store.steampowered.com/app/1778820/TEKKEN_8/
- Avoiding The Puddle (Aris) — Tekken mechanics breakdowns: https://www.youtube.com/@AvoidingThePuddle
Next read
- For picking a character to steer it with, see Tekken 8: Beginner Character Tier List by Execution Floor.
- For how Season 3 rebalanced the system, see Tekken 8 Season 3: Refined Balance and Heat Smash Changes.
- All our coverage lives on the Tekken 8 hub.