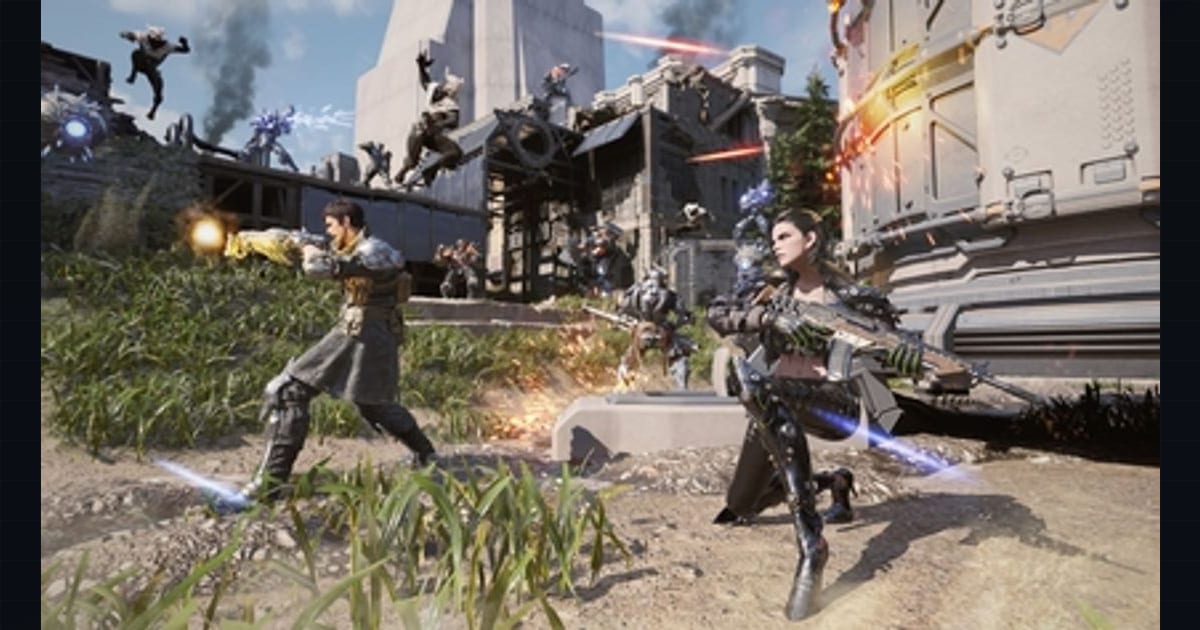
Void Intercept Battles are The First Descendant’s raid content: up to four players team up to defeat a Colossus pulled from within the Void, and on Hard difficulty the fight stops being a DPS check and becomes a mechanics check. The difference between a clean Hard clear and a wipe almost always comes down to three things: reading the Colossus’s weak-point state, timing the grapple-and-part-removal window, and assigning roles so that someone is always handling shield break while the rest survive. This guide breaks down the phase behavior, the shield-break windows, and a role framework for high-difficulty Colossus fights. All mechanics below come from Nexon’s official Intercept Battle guide and the game’s weak-point system; where a threshold is approximate, the guide says so rather than inventing an exact value.
How Intercept Battles are structured
You reach Intercept Battles through Seneca, and before you queue you can review the recommended stats, the Colossus’s attribute, its resistances, and which of its parts are Destructible versus Removable. That pre-fight screen is not flavor text — it is the build brief. Two pieces of information on it drive everything: the attribute the boss is “Extremely Low” (weak) to, and which weapon type each part is vulnerable to. Your loadout, attribute enhancement modules, and antibody modules should all be chosen against that brief before you ever load in.
If your stats sit above the recommendation the fight gets meaningfully easier, and the official guide is explicit that hitting the recommended thresholds is the floor for a serious attempt, not a ceiling.
Weak points: Destructible versus Removable parts
Colossi have two categories of breakable parts, and the distinction is the core mechanic of the fight:
- Destructible Parts can be shot off but cannot be grappled. Some parts — for example, parts located at a Colossus’s knees — are Destructible only and can never be latched onto.
- Removable Parts can be grappled once they are weakened, and removing them is what staggers the boss.
The game communicates part state with color coding visible when you scan with the weak-point view. Parts change color as they take damage, and shift to a distinct “weakened” state once they are ready to be grappled. While a grapple cooldown is in effect the parts become immune to grappling until the cooldown expires. Reading the part state in real time is the single most important skill in a Hard fight, because the weakened window is when you convert damage into a stagger.
The grapple-and-remove window
Once a Removable part is weakened you can use your grappling hook to latch onto it. While latched, your grapple controls let you damage the part to work toward removing it, and hold on when the Colossus tries to shake you off — holding on even when the boss is not actively shaking lets you deliberately stall on the part. A depleting grip bar tracks your hold; when it empties you are thrown off.
The key tactical detail is that while a player is latched onto a Colossus, the rest of the team gets a window of reduced pressure to revive downed allies, reposition, or pour damage into the boss’s other weak points. Skilled players therefore hold on as long as possible — bringing the part to the brink of removal, then stalling — and only deliver the finishing punch at the last moment, which both removes the part and staggers the Colossus, extending that low-pressure window.
Two failure modes break this window and are worth drilling:
- Teammates shooting the part someone is latched onto. If a teammate destroys the latched part with gunfire instead of letting the grappled player remove it, the Colossus does not stagger. Communication — call out which part you are holding, and have teammates shoot a different part — preserves the stagger.
- Releasing early. Releasing intentionally triggers the same grappling cooldown as being thrown off, during which nobody can grapple any part. Only release deliberately if the grip bar is about to empty anyway.
After a part is removed, the underlying weak point is still there and still takes weak-point damage — you keep attacking the now-exposed spot for sustained high damage.
Shield-break windows and the Detect mechanic
Some Colossi protect themselves with a shield that must be broken before weak points become vulnerable, and the Detect module is the tool that turns shield break into a stun window. Detect inflicts damage to an enemy’s Shield in proportion to their Max Shield on weak-point hits, at a set chance, and when that damage fully depletes the target’s Shield it applies Stun at a set chance. The trade-off is a hip-fire and aimed-shot accuracy penalty, so Detect is a deliberate specialization rather than a free upgrade.
The practical read for raids is that the shield-break window is not just “shoot the shield until it falls” — it is a chance to chain a Stun off the break if your build invests in Detect. On Hard, where a shielded Colossus can recover or re-armor, converting a shield break into a Stun buys the team a clean burst window. Coordinate so that the player running Detect is the one finishing the shield, not chipping it.
Phase behavior and escalation
Colossi do not telegraph numbered phases the way some raid bosses do, but they do escalate. Each fight builds toward an invulnerability phase as you deal damage. The important wrinkle is that focusing weak points is favored not just because they take more damage, but because it keeps you in productive-damage windows longer — a team that sprays the body tends to trigger the immune phases sooner, while a team that disciplines itself to weak points spends more of the fight doing productive damage.
When a part is removed and the boss is staggered, the stagger is another window in which the team can deal damage without advancing the escalation — which is exactly why the stall-on-the-part technique is so valuable on Hard. It maximizes the window in which the team can deal productive damage.
Attribute and resistance matchups
Before the fight, identify the Colossus’s attack attribute and the attribute it is “Extremely Low” to. The official guide gives a concrete example with Grave Walker: its attack attribute is Fire and it is extremely weak to Chill. The recommended Descendant is a Chill user (Viessa or Hailey), the recommended Descendant module is Heat Antibody (to survive the Fire attacks), and the recommended weapon module is Chill Enhancement (to exploit the Chill weakness). That single example is the template for every Colossus: pick the Descendant whose attribute hits the boss’s weakness, run the antibody for the boss’s attack attribute, and run the enhancement for the boss’s weak attribute on your weapon.
Role assignment for high-difficulty fights
A four-player Hard team is most reliable when roles are explicit rather than everyone doing the same thing:
- Weak-point breaker / grapple specialist. One player owns the grapple-and-remove loop — they call the part they are holding, stall for the team, and deliver the removal punch to trigger the stagger. Teammates avoid shooting the held part.
- Shield breaker. If the Colossus is shielded, one player runs Detect (or a high-shield-damage build) and is responsible for finishing the shield and converting it into a Stun.
- Add control and survival. One or two players manage mobs and keep the team alive, prioritizing their own survival over DPS — too many unsaved downs can end the run even when other players are still standing.
- Burst window DPS. The remaining player focuses exposed weak points during stagger and Stun windows, where damage lands without advancing the boss’s escalation.
Because focusing weak points keeps you in productive-damage windows longer, the whole team should converge on weak points during open windows and split into their roles only during shield and add phases.
Survival as the binding constraint
On Hard, survival is the real objective and DPS is secondary. The official guidance is blunt: if you are in danger, prioritize your own survival even at the cost of damage, and if you go down, wait for a revive rather than forcing the fight. Too many unsaved downs can end the run even with a sliver of boss health remaining, so a team that over-commits to damage and gets players downed has lost. The discipline that wins Hard fights is the willingness to back off, let the grapple specialist stall the boss, and re-enter only when the window is safe.